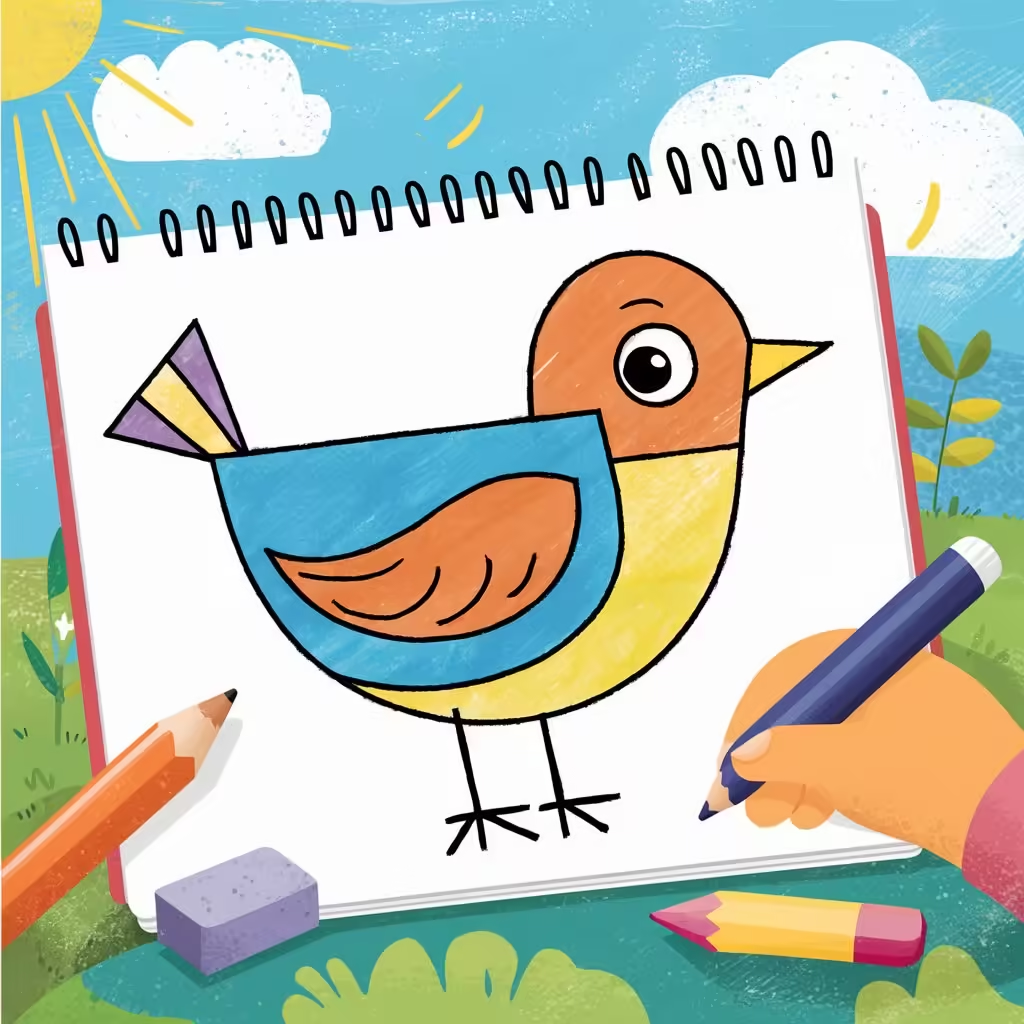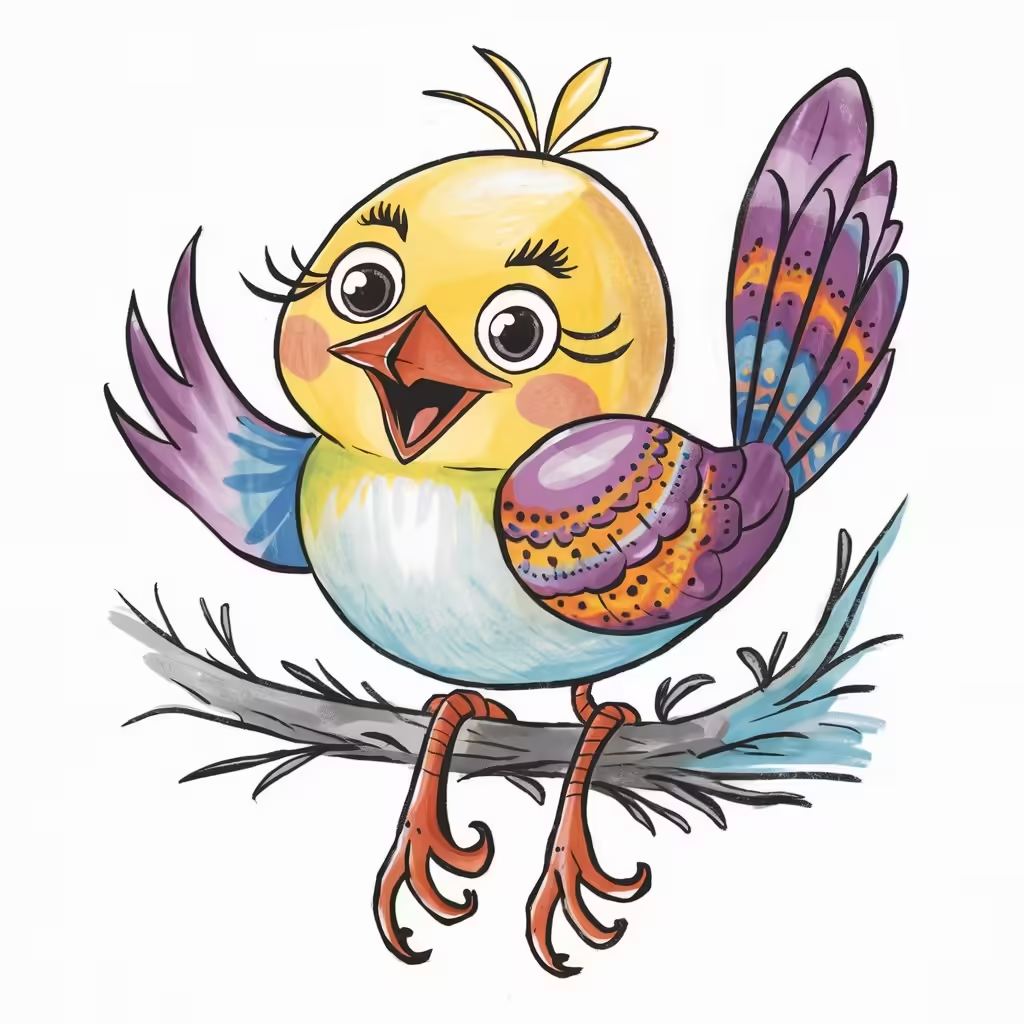
Drawing is a fantastic way for kids to explore their creativity and express themselves. Birds, with their vibrant colors and fascinating shapes, are popular subjects for young artists. In this blog post, we’ll provide a simple step-by-step guide to help your child draw a beautiful bird. This easy bird drawing tutorial is suitable for kids of all ages and skill levels. Let’s get started!
Materials You’ll Need

Before we begin, gather these materials:
- A piece of paper
- A pencil
- An eraser
- Colored pencils or crayons (optional)
Step-by-Step Guide to Drawing a Bird
Step 1: Draw the Head
Start by drawing a small circle near the top of your paper. This will be the bird’s head. If your child has trouble drawing a perfect circle, they can use a round object like a coin to trace around.
Step 2: Add the Beak
Next, draw a small triangle extending from one side of the circle for the bird’s beak. The triangle should be pointy and slightly curved to resemble a real bird’s beak.
Step 3: Draw the Eyes
Inside the circle, draw two small circles for the eyes. Add a smaller dot inside each eye circle to represent the pupils. You can also add a tiny curve above each eye for the eyebrows.
Step 4: Draw the Body
Below the head, draw an oval shape for the bird’s body. The oval should be wider at the bottom to give the bird a more natural shape.
Step 5: Add the Wings
On each side of the body, draw a curved line to represent the wings. The wings should be slightly curved and pointy at the ends.
Step 6: Draw the Tail
At the bottom of the body, draw a few straight lines extending outwards to create the bird’s tail feathers. The tail can be as long or short as your child likes.
Step 7: Add the Legs
Draw two thin lines extending from the bottom of the body for the bird’s legs. Add small ovals at the end of each leg for the feet. You can also draw tiny lines on the feet to represent the toes.
Step 8: Add Details
Now, it’s time to add some fun details! Your child can draw patterns on the bird’s feathers, such as stripes or spots. They can also add a branch or a nest for the bird to sit on.
Step 9: Color Your Bird
Finally, use colored pencils or crayons to bring the bird to life. Encourage your child to use bright and vibrant colors to make their bird drawing stand out.

Tips for Parents
Encourage Creativity: Allow your child to experiment with different shapes and patterns. The bird doesn’t have to be perfect; the goal is to have fun and be creative.
Provide Positive Feedback: Praise your child’s effort and creativity, regardless of the outcome. Positive reinforcement will boost their confidence and encourage them to keep drawing.
Practice Together: Join your child in drawing. It’s a great way to bond and show them that drawing is a fun activity for everyone.
Conclusion
Drawing a bird can be a delightful and rewarding experience for kids. By following this simple step-by-step guide, your child can create their own beautiful bird drawing. Remember, the most important thing is to have fun and let their creativity soar. Happy drawing! For more learning visit us.


