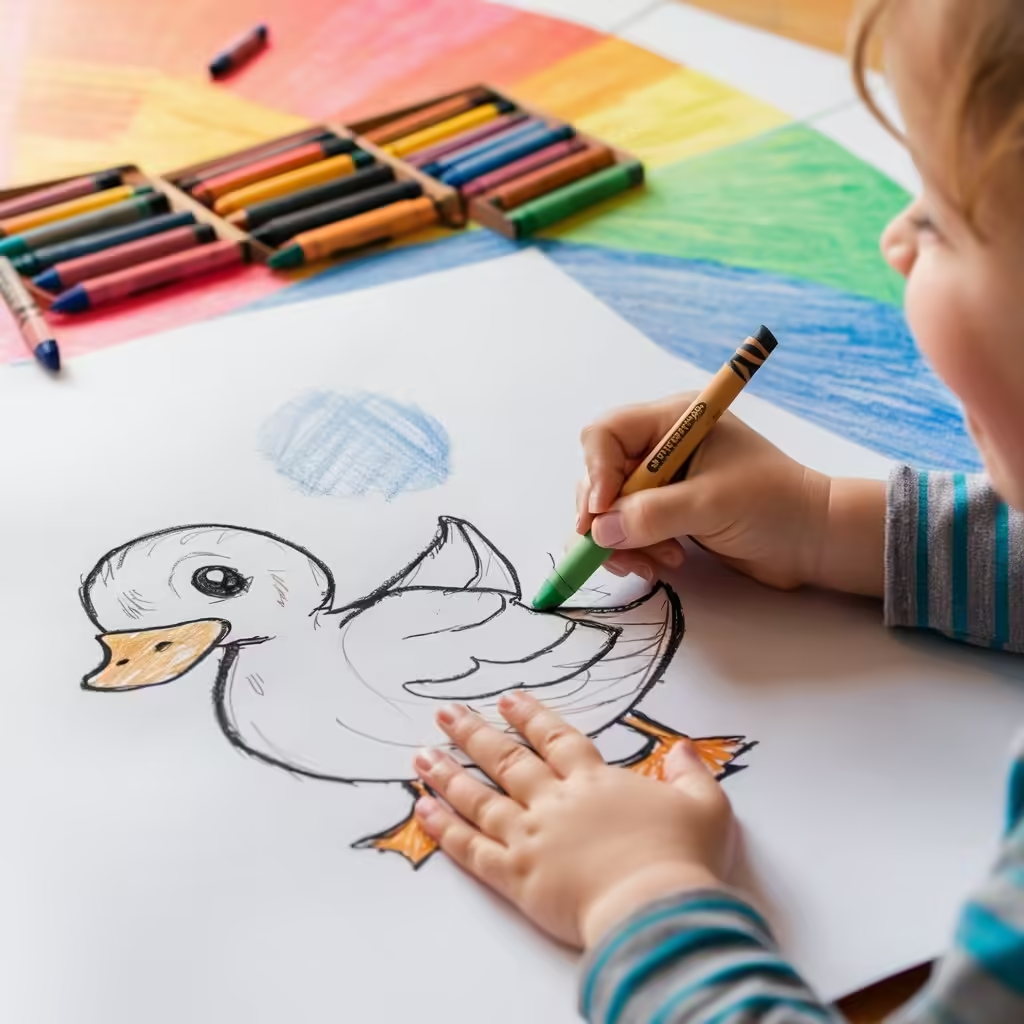
Drawing is a fantastic activity for kids. It fosters creativity, enhances fine motor skills, and provides a fun way to express their imagination. One popular subject that kids love to draw is a duck. In this guide, we’ll walk you through an easy and enjoyable way to create a cute duck drawing. Whether you’re a parent, teacher, or a young artist, this step-by-step tutorial is perfect for you!
Why Drawing is Important for Kids
Before we dive into the drawing instructions, let’s explore why drawing is beneficial for kids:
1.Boosts Creativity: Drawing encourages kids to use their imagination and come up with unique ideas.
2.Improves Fine Motor Skills: Holding and controlling a pencil helps develop hand-eye coordination and dexterity.
3. Enhances Focus and Concentration: Following steps and completing a drawing requires attention to detail and patience.
4. Provides Emotional Expression: Kids can express their feelings and thoughts through their artwork.
5. Encourages Problem-Solving: Deciding what to draw and how to draw it promotes critical thinking skills.
Materials Needed
To get started with your duck drawing, gather the following materials:
- A blank sheet of paper
- A pencil
- An eraser
- Colored pencils, markers, or crayons
Step-by-Step Guide to Drawing a Duck
Follow these simple steps to create your very own duck drawing:
Step 1: Draw the Duck’s Head
1. Start by drawing a small oval shape for the duck’s head.
2. Add a curved line at the bottom of the oval to form the neck.
Step 2: Draw the Duck’s Body
1. Draw a larger oval shape attached to the head. This will be the duck’s body.
2. Make sure the body is slightly tilted to give your duck a natural look.
Step 3: Add the Duck’s Beak
1. Draw a small triangle shape on the head for the beak.
2. Add a line in the middle of the beak to create the mouth.
Step 4: Draw the Duck’s Eyes
1. Draw two small circles on the head for the eyes.
2. Add smaller circles inside the eyes for the pupils. You can leave a tiny white spot in each pupil to make the eyes look shiny and lively.
Step 5: Add the Duck’s Wings
1. Draw a curved line on each side of the body to represent the wings.
2. You can make the wings as simple or detailed as you like. Adding a few feather lines can give them more texture.
Step 6: Draw the Duck’s Legs and Feet
1. Draw two straight lines extending from the bottom of the body for the legs.
2. Add webbed feet at the end of each leg. Webbed feet look like a spread-out hand with three or four toes connected by a membrane.
Step 7: Add Final Details
1. Add some feather details to the body and wings by drawing short, curved lines.
2. If you like, you can add water waves around the duck to show it swimming.
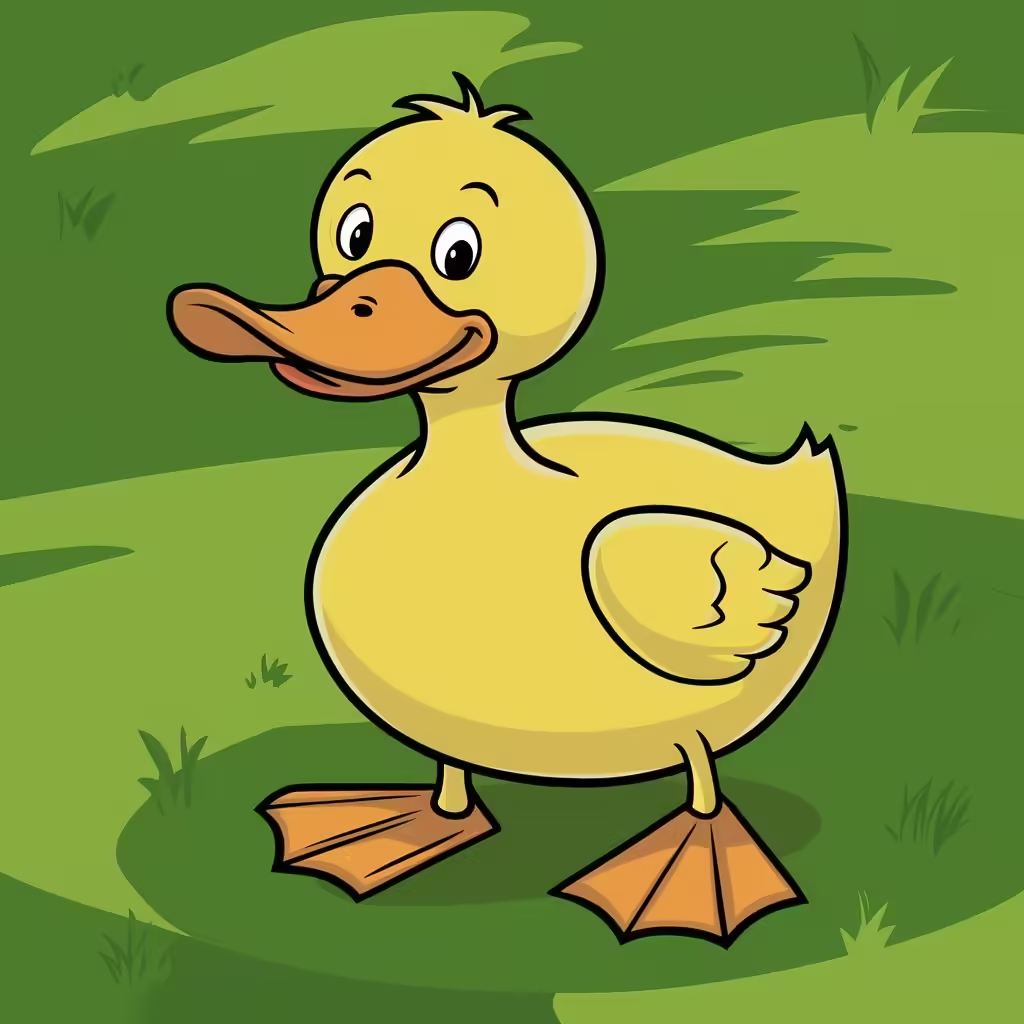
Step 8: Color Your Duck
1. Use your colored pencils, markers, or crayons to bring your duck to life. Ducks are typically yellow with an orange beak and feet, but feel free to use any colors you like!
Tips for Parents and Teachers
Encourage Creativity: Let kids experiment with different colors and styles. Every duck drawing can be unique!
Provide Positive Feedback: Praise their efforts and creativity, regardless of the final outcome.
Display Their Art: Show off their artwork at home or in the classroom to boost their confidence and pride in their work.
Conclusion
Drawing a duck is a delightful and easy project that kids of all ages can enjoy. With these simple steps, children can create their own adorable duck drawings and explore their artistic talents. Remember, the key to a great drawing is practice and imagination. So grab your pencils and paper, and let’s start drawing ducks!
By following this guide, you’re not only helping your kids improve their drawing skills but also providing a fun and engaging activity that can be enjoyed anytime. Happy drawing! For more learning visit us.