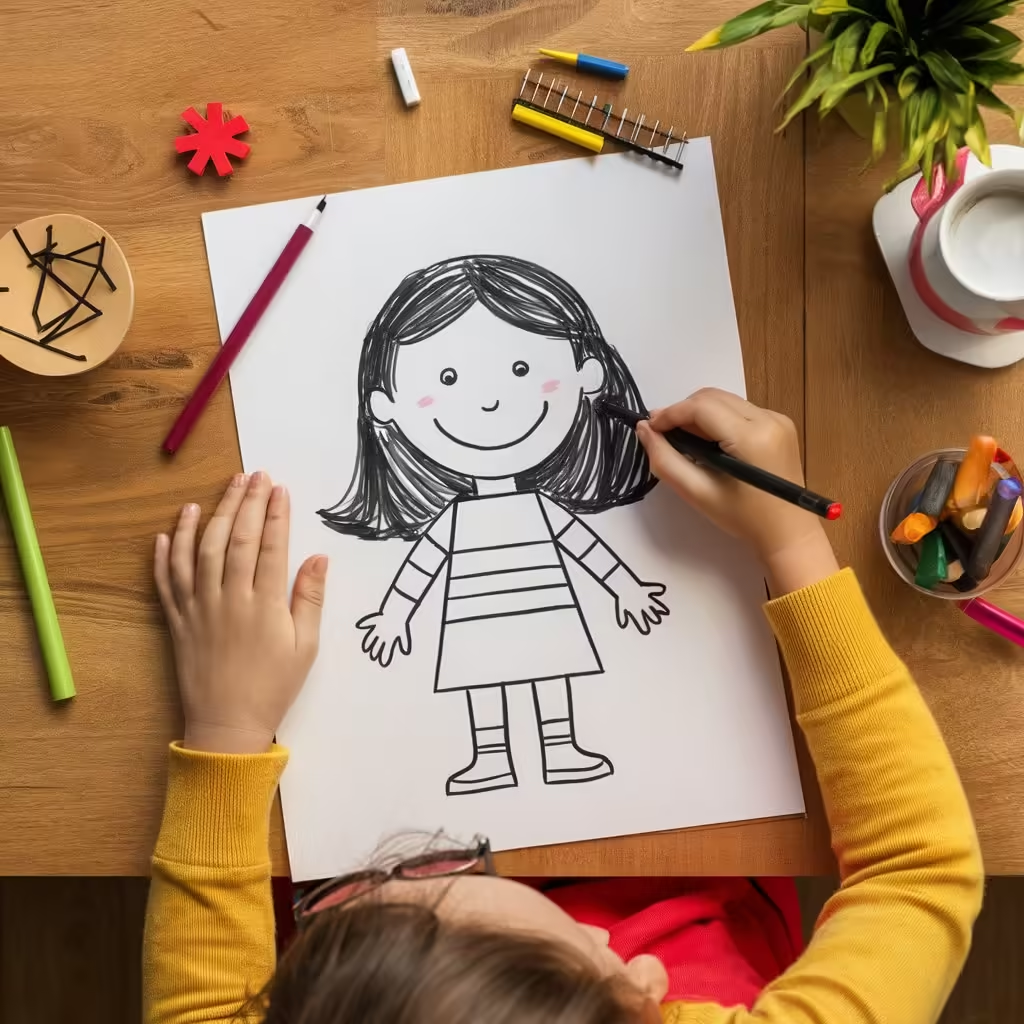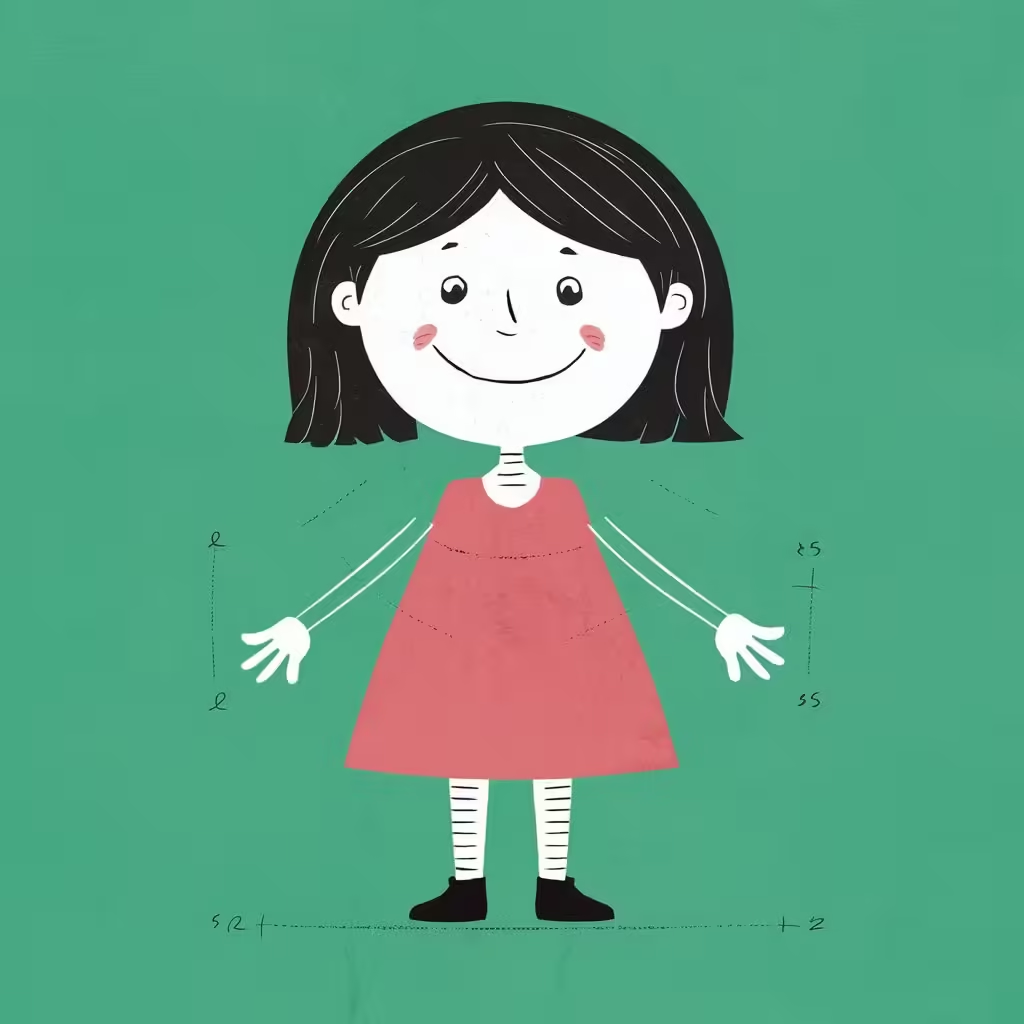
Drawing is a fantastic way for kids to express their creativity and develop fine motor skills. One popular drawing subject is a girl, and this guide will walk you through an easy step-by-step process to help your child create their very own girl drawing. Let’s dive in and get those pencils moving!
Materials Needed
Before we start, gather the following materials:
- Drawing paper
- Pencils
- Erasers
- Colored pencils or crayons (optional)
Step-by-Step Guide to Drawing a Girl
Step 1: Draw the Head
Start by drawing a large circle for the head. Add a smaller, horizontal oval below the circle for the chin to give the head an oval shape. Lightly sketch guidelines down the center of the face to help place the facial features later.
Step 2: Draw the Body
From the bottom of the head, draw two lines curving slightly outwards to create the neck. Continue these lines downwards to form the shoulders and upper torso. For younger kids, keeping the body simple, such as using basic shapes like rectangles or triangles, works well.
Step 3: Add Arms and Legs
Draw two lines extending from each shoulder for the arms. You can use simple lines or add basic shapes for the upper arms and forearms. For the legs, draw two lines from the bottom of the torso. Again, using basic shapes can help simplify this step for kids.
Step 4: Draw the Face
Now, return to the head and start adding facial features. Draw two large circles for the eyes along the horizontal guideline. Inside these circles, add smaller circles for the pupils. Draw a small curved line for the nose and a simple curve for the mouth. Add eyebrows and any other facial details your child likes.
Step 5: Add Hair
Sketch the hair around the head. This can be long, short, curly, or straight—let your child’s imagination run wild. Start with the basic shape and then add details like individual strands or ponytails.
Step 6: Draw Clothing
Using basic shapes, draw the girl’s clothing. This can be a dress, shirt and pants, or any outfit your child wants. Encourage them to be creative with patterns and colors.
Step 7: Add Details and Accessories
Add any additional details such as shoes, jewelry, or other accessories. This is where your child can really personalize their drawing.
Step 8: Outline and Color
Once your child is happy with their sketch, they can outline their drawing with a darker pencil or marker. Finally, let them color their drawing using colored pencils or crayons.

Tips for Kids Learning to Draw
- Start Simple: Begin with basic shapes and gradually add details.
- Use Light Lines: Sketch lightly so mistakes can be easily erased.
- Practice: Encourage regular practice to improve skills.
- Be Creative: Let creativity flow; there are no rules in art.
- Have Fun: The most important part of drawing is to enjoy the process.
Benefits of Drawing for Kids
- Enhances Creativity: Drawing allows kids to express their thoughts and imagination.
- Improves Motor Skills: Holding and maneuvering a pencil helps develop fine motor skills.
- Boosts Confidence: Completing a drawing gives kids a sense of accomplishment.
- Encourages Focus: Drawing requires concentration, which helps improve attention span.
Conclusion
Drawing a girl can be a delightful and educational activity for kids. With this step-by-step guide, your child will be able to create their own beautiful girl drawing while enhancing their artistic skills. Remember to encourage creativity and have fun with the process!
For more fun drawing guides and activities for kids, explore our blog at Goldenbee Global School. Happy drawing!


