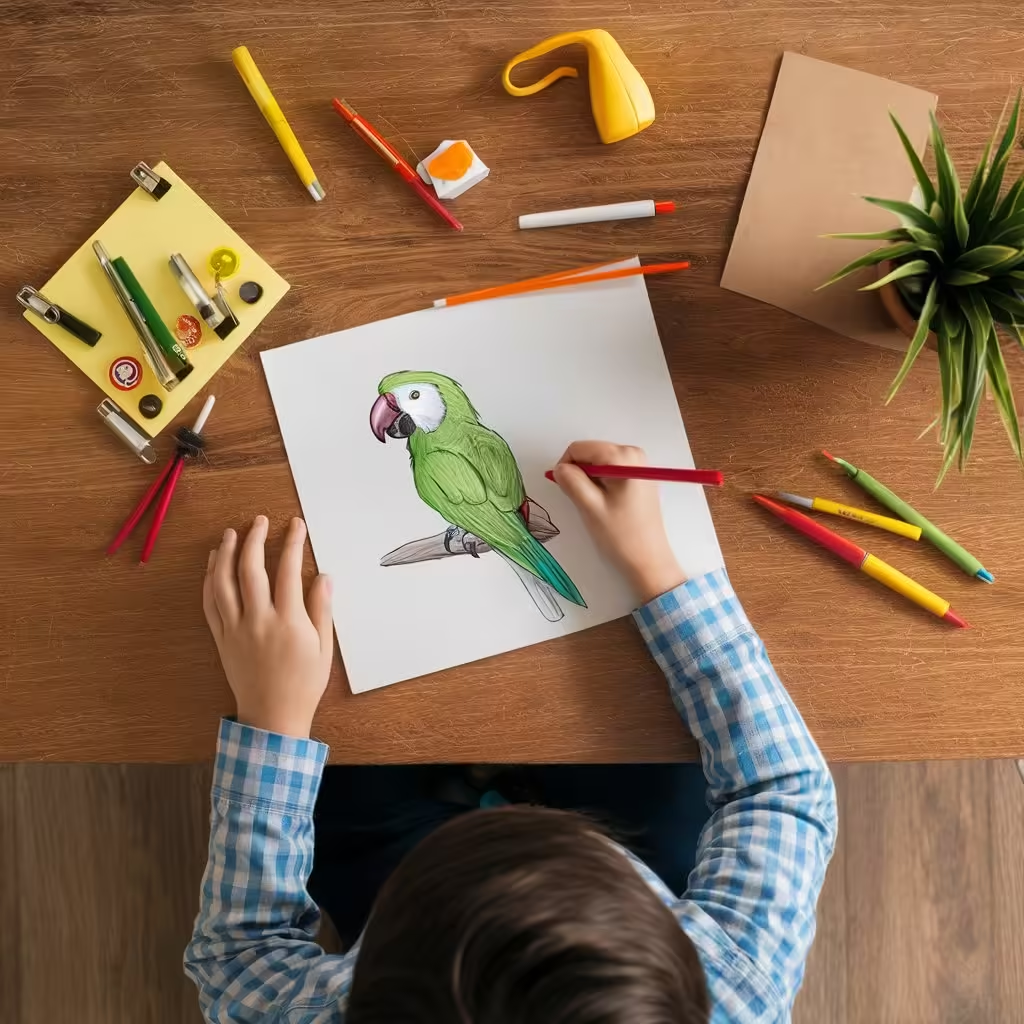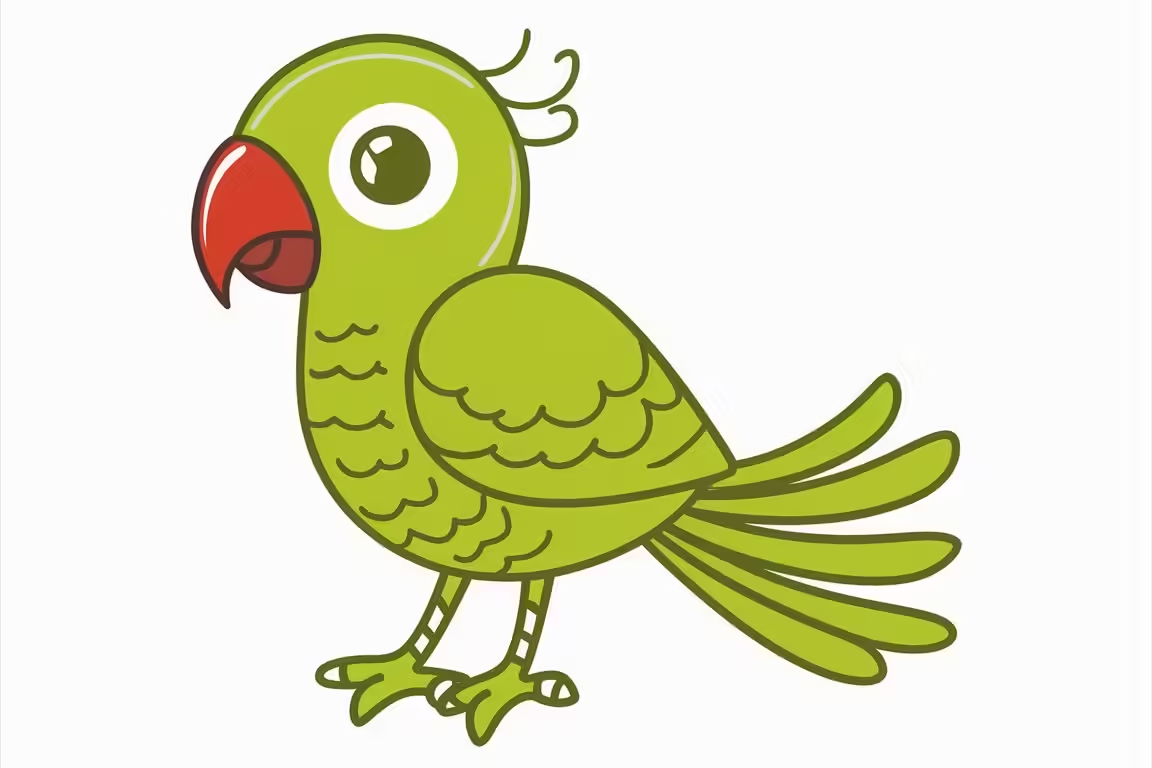
Drawing is a fantastic way for children to express their creativity and improve their fine motor skills. One of the most fun and colorful subjects for kids to draw is a parrot. In this blog post, we’ll guide you through a simple and engaging process for drawing a parrot, perfect for kids of all ages.
Materials You’ll Need
Before starting, gather the following materials:
- Paper: Any drawing or sketch paper will do.
- Pencils: For sketching the outline.
- Erasers: To correct any mistakes.
- Colored Pencils/Crayons/Markers: To bring your parrot to life with colors.
Step-by-Step Guide to Drawing a Parrot
Step 1: Draw the Body
Start by drawing an oval shape in the middle of your paper. This will be the body of your parrot. Make sure to leave enough space at the top and bottom for the head and tail.
Step 2: Add the Head
Draw a smaller oval shape on top of the larger oval for the parrot’s head. Connect the two ovals with curved lines to form the neck.
Step 3: Sketch the Beak
Draw a small triangle on the front of the head oval to create the beak. Parrots have curved beaks, so make sure to round off the edges of the triangle.
Step 4: Draw the Eyes
Add a small circle inside the head oval for the eye. You can add a tiny dot inside the circle to represent the pupil. For extra detail, draw a small curve above the eye to represent the parrot’s eyebrow.
Step 5: Create the Wings
Draw a curved line from the middle of the body oval down towards the bottom. This will be the parrot’s wing. You can add feather details by drawing small curved lines along the edge of the wing.
Step 6: Add the Tail
Extend two or three straight lines from the bottom of the body oval downwards to form the tail feathers. Parrots have long, beautiful tails, so don’t be afraid to make them a bit exaggerated.
Step 7: Draw the Feet
At the bottom of the body oval, draw two small lines extending downwards for the legs. Add three tiny toes at the end of each leg to complete the feet.
Step 8: Add Feathers and Details
Now that the basic shape is complete, you can add more details. Draw small curved lines on the body and wings to represent feathers. Add any additional details you’d like, such as patterns or textures.
Step 9: Color Your Parrot
This is the most fun part! Use your colored pencils, crayons, or markers to color your parrot. Parrots are known for their bright and vibrant colors, so feel free to get creative. You can look up pictures of real parrots for inspiration or invent your own color scheme.

Tips for Drawing with Kids
- Encourage Creativity: Let kids choose their own colors and add their unique details to make the drawing their own.
- Be Patient: Drawing can take time, especially for younger children. Encourage them to take their time and enjoy the process.
- Practice Regularly: The more kids practice drawing, the better they will get. Encourage them to draw different animals and objects to improve their skills.
Conclusion
Drawing a parrot can be a delightful and educational activity for kids. With a few simple steps, they can create a beautiful piece of art that they can be proud of. So grab your drawing materials and start creating your colorful parrot today!
For more fun drawing guides and creative activities for kids, check out our other blog posts or visit us. Happy drawing!
Related post:


