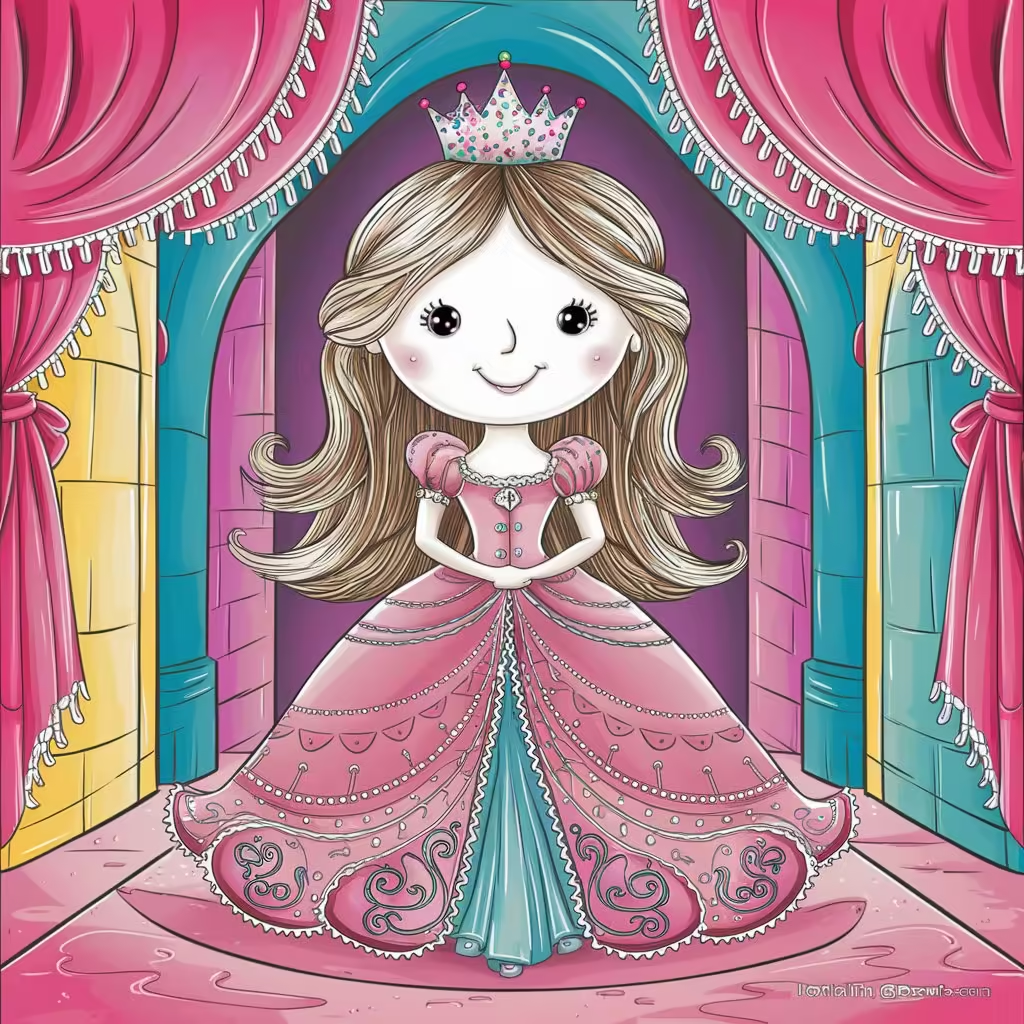
 Drawing is a wonderful way for children to express their creativity and imagination. One popular theme that often captures their hearts is the magical world of princesses. In this blog post, we’ll explore some fun and simple steps to princess drawing for kids. Whether your child is a beginner or has some drawing experience, these tips will make the process enjoyable and engaging. So, grab your pencils and paper, and let’s get started!
Gathering the Supplies
Before diving into the drawing, it’s essential to have all the necessary supplies ready. Here’s a list of basic materials you’ll need:
- Pencils: Preferably HB or 2B for sketching.
- Eraser: For correcting any mistakes.
- Colored Pencils/Crayons: To add color and bring the drawing to life.
- Drawing Paper: A smooth surface is ideal for pencil work.
Start with Basic Shapes
To make drawing easier for kids, it’s helpful to break down the princess into simple shapes. Here’s a step-by-step guide:
- Head: Start with a circle for the head.
- Body: Draw a small rectangle or oval beneath the head for the body.
- Arms and Legs: Use simple lines or rectangles for the arms and legs.
- Hands and Feet: Small ovals or circles will do the trick.
This basic structure helps kids visualize the overall form before adding details.
Add Facial Features and Hair
Once the basic shapes are in place, it’s time to add more specific details:
- Eyes: Draw two small circles within the head circle. Add tiny circles inside for the pupils.
- Nose and Mouth: A small curved line for the nose and a simple smile for the mouth.
- Hair: Let your child’s imagination run wild! They can create long flowing hair, a bun, or even a crown. Encourage creativity and personalization.
Design the Princess’s Outfit
The outfit is one of the most fun parts of drawing a princess. Here’s how to design a royal dress:
- Bodice: Start with a simple shape that fits over the body rectangle.
- Skirt: Add a large triangle or bell shape for the skirt. It can be as elaborate or simple as desired.
- Accessories: Don’t forget to add a crown, jewelry, or other accessories to make the princess unique.
Coloring the Princess
Coloring brings the drawing to life! Encourage kids to choose their favorite colors for the princess’s dress, hair, and accessories. They can use colored pencils, crayons, or markers to add vibrant hues. Remind them that there’s no right or wrong way to color—it’s all about creativity and expression.
Adding Background and Details
To complete the drawing, kids can add a background scene. Perhaps the princess is in a beautiful castle, a lush garden, or a magical forest. Encourage them to think about what kind of world their princess lives in and include those elements in the background.
Showcase the Artwork
Once the drawing is complete, celebrate your child’s hard work by displaying their artwork. You can frame it, create a mini art gallery at home, or even share it with friends and family. It’s a great way to boost their confidence and encourage their artistic journey.

Conclusion
Drawing a princess is a fantastic way for kids to explore their creativity and have fun. By following these simple steps, they can create their own unique princess characters. Remember, the most important thing is to enjoy the process and let their imagination shine. So, next time your child wants to draw, encourage them to create a magical princess and watch their artistic skills grow! For more drawing tutorials and creative activities, check out our other blog posts/visit us Happy drawing!


