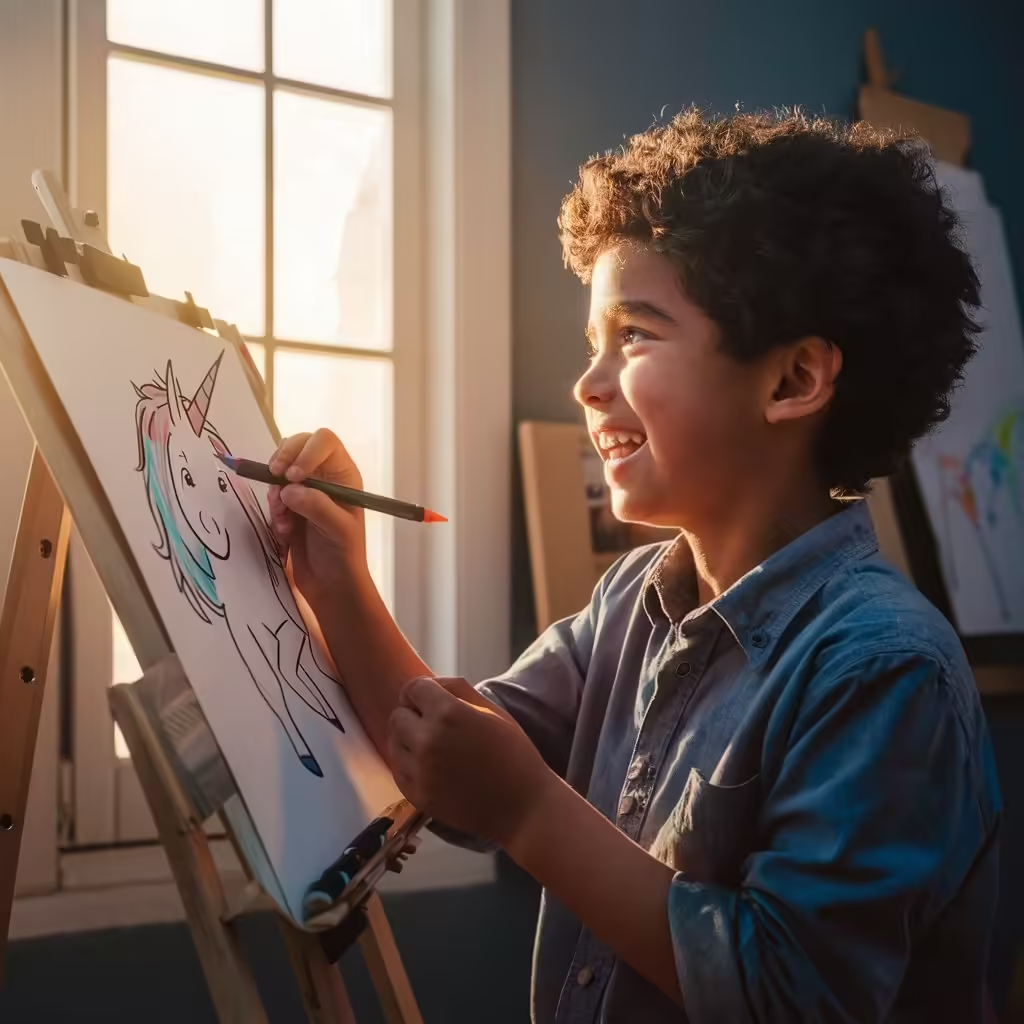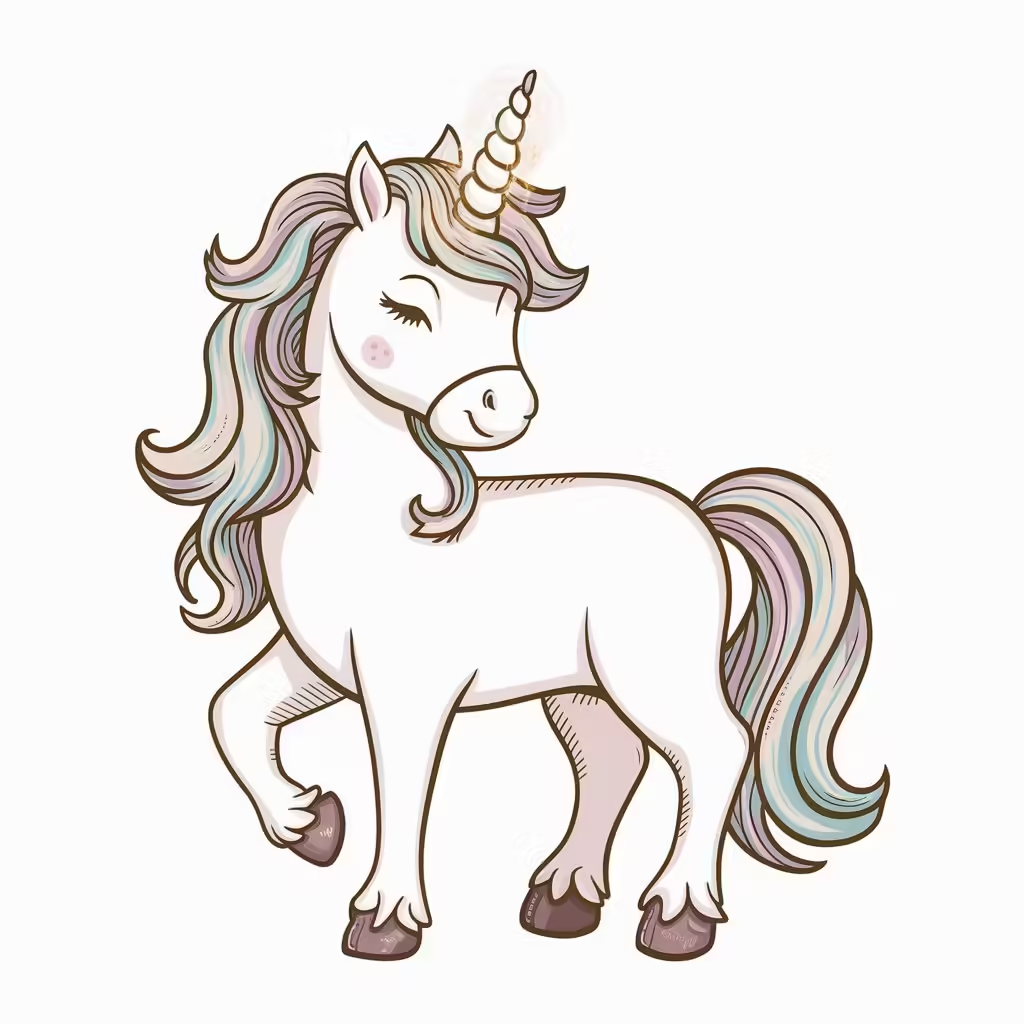
Unicorns have captured the imagination of children for generations with their mythical beauty and magical allure. Drawing a unicorn can be a delightful and educational activity for kids, sparking creativity and honing their artistic skills. In this guide, we will walk you through an easy, step-by-step process to help kids draw their very own unicorn. So, grab your pencils, markers, and paper, and let’s get started!
Why Drawing is Important for Kids
Before diving into the drawing steps, let’s take a moment to understand why drawing is such a valuable activity for children:
- Boosts Creativity: Drawing encourages kids to use their imagination, think creatively, and come up with unique ideas.
- Develops Fine Motor Skills: Holding and maneuvering a pencil improves hand-eye coordination and dexterity.
- Enhances Concentration: Focusing on the details of their artwork helps kids develop better concentration and patience.
- Expresses Emotions: Art provides a healthy outlet for children to express their feelings and emotions.
Step-by-Step Guide to Drawing a Unicorn
Materials Needed:
- Drawing paper
- Pencil
- Eraser
- Markers or colored pencils
Step 1: Draw the Head and Ears
Start by drawing a large oval for the unicorn’s head. Add two small triangles on top of the oval for the ears.
Step 2: Add the Horn
In the center of the unicorn’s forehead, draw a long, thin triangle for the horn. Add a few curved lines inside the triangle to give it a spiral effect.
Step 3: Draw the Face
Inside the oval, draw two large circles for the eyes. Add smaller circles inside the eyes for the pupils. Draw a small, curved line for the nose and a smile below the nose.
Step 4: Sketch the Mane
Starting from the top of the head, draw long, wavy lines down one side of the face for the mane. You can make the mane as simple or as intricate as you like.
Step 5: Draw the Body
From the bottom of the head, draw a large oval for the body. Ensure it is proportionate to the head.
Step 6: Add the Legs
Draw four legs extending from the body. Each leg can be drawn as two parallel lines with a small hoof at the end.
Step 7: Draw the Tail
At the back of the body, draw a long, flowing tail with wavy lines similar to the mane.
Step 8: Color Your Unicorn
Once the drawing is complete, it’s time to bring your unicorn to life with colors! Use your markers or colored pencils to add vibrant colors to the mane, tail, and horn. Don’t forget to color the body and add any additional details you like.

Tips for Encouraging Kids to Draw
- Provide Positive Feedback: Always encourage and praise your child’s efforts, focusing on their creativity and the joy of drawing.
- Make It Fun: Turn drawing sessions into a fun activity with music, storytelling, or themed drawing challenges.
- Display Their Artwork: Show your child’s drawings around the house to boost their confidence and sense of accomplishment.
Conclusion
Drawing a unicorn can be a magical experience for kids, blending creativity with skill development. By following this simple guide, children can create their very own unicorn masterpiece. Remember, the most important part of drawing is to have fun and enjoy the process. For more learning visit us. Happy drawing!


