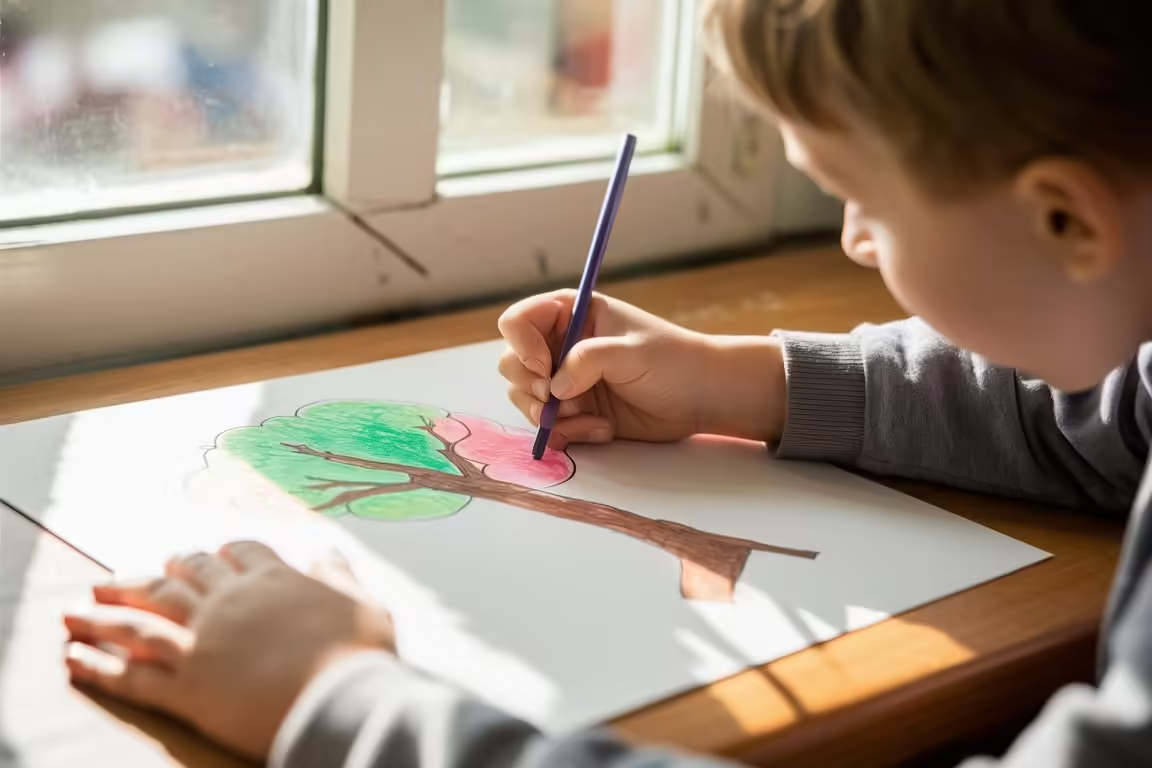
Drawing is an excellent way for kids to express their creativity, and what better subject to start with than trees? Trees are simple yet versatile, providing a great foundation for young artists to explore shapes, lines, and colors. In this blog post, we will guide you through an easy, step-by-step process to help kids draw a beautiful tree. Whether you’re a parent, teacher, or budding artist, this guide will make tree drawing an enjoyable activity for everyone.
Why Tree Drawing is Great for Kids
Tree drawing offers numerous benefits for children, including:
- Enhancing Creativity: Drawing allows kids to use their imagination and create their versions of trees, which can be as unique as they want.
- Improving Fine Motor Skills: The act of drawing and coloring helps develop hand-eye coordination and fine motor skills.
- Learning About Nature: Drawing trees can be an educational activity where kids learn about different types of trees, leaves, and the importance of nature.
Materials Needed
Before we start, gather the following materials:
- A4 or A3 drawing paper
- Pencils (HB or 2B for sketching)
- Erasers
- Colored pencils, crayons, or markers
- Reference images of trees (optional)
Step-by-Step Guide to Drawing a Tree
Step 1: Draw the Trunk
Begin by drawing the tree trunk. Start with two parallel lines slightly tapering towards the bottom. These lines will form the sides of the trunk. Connect the lines at the bottom with a curved line to create the base of the trunk.
Step 2: Add the Branches
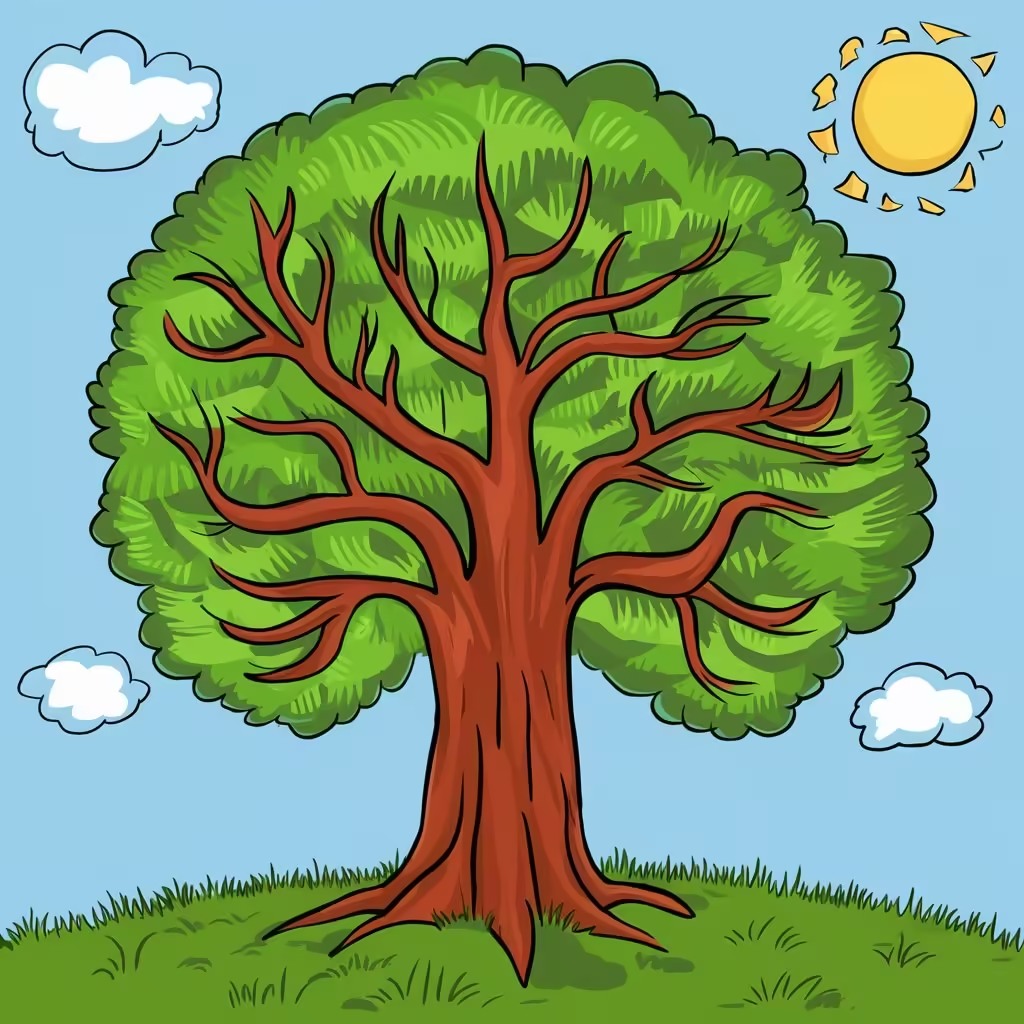
Next, draw branches extending from the top of the trunk. Branches can vary in thickness and length. Start with thicker branches at the base, gradually making them thinner as you move up. You can draw as many branches as you like, spreading out in different directions.
Step 3: Sketch the Leaves
Now, it’s time to add leaves to your tree. You can draw individual leaves or clusters of leaves. For a simple tree, draw a large cloud-like shape around the branches to represent the foliage. Alternatively, you can draw several small oval shapes to represent individual leaves.
Step 4: Add Details to the Trunk
To make your tree look more realistic, add texture to the trunk by drawing horizontal lines or small, irregular shapes. These details will represent the bark of the tree.
Step 5: Color Your Tree
Finally, bring your tree to life with colors. Use brown for the trunk and branches, and various shades of green for the leaves. If you want to get creative, you can add flowers, fruits, or even birds on your tree.

Tips for Drawing Trees
- Observe Real Trees: Spend time observing trees in your surroundings or look at pictures to understand their structure and shapes.
- Experiment with Different Styles: Encourage kids to experiment with different styles, such as cartoonish, realistic, or abstract trees.
- Practice Regularly: Like any skill, drawing improves with practice. Encourage regular drawing sessions to see improvement over time.
Fun Tree Drawing Ideas
To keep the activity exciting, here are some fun tree drawing ideas:
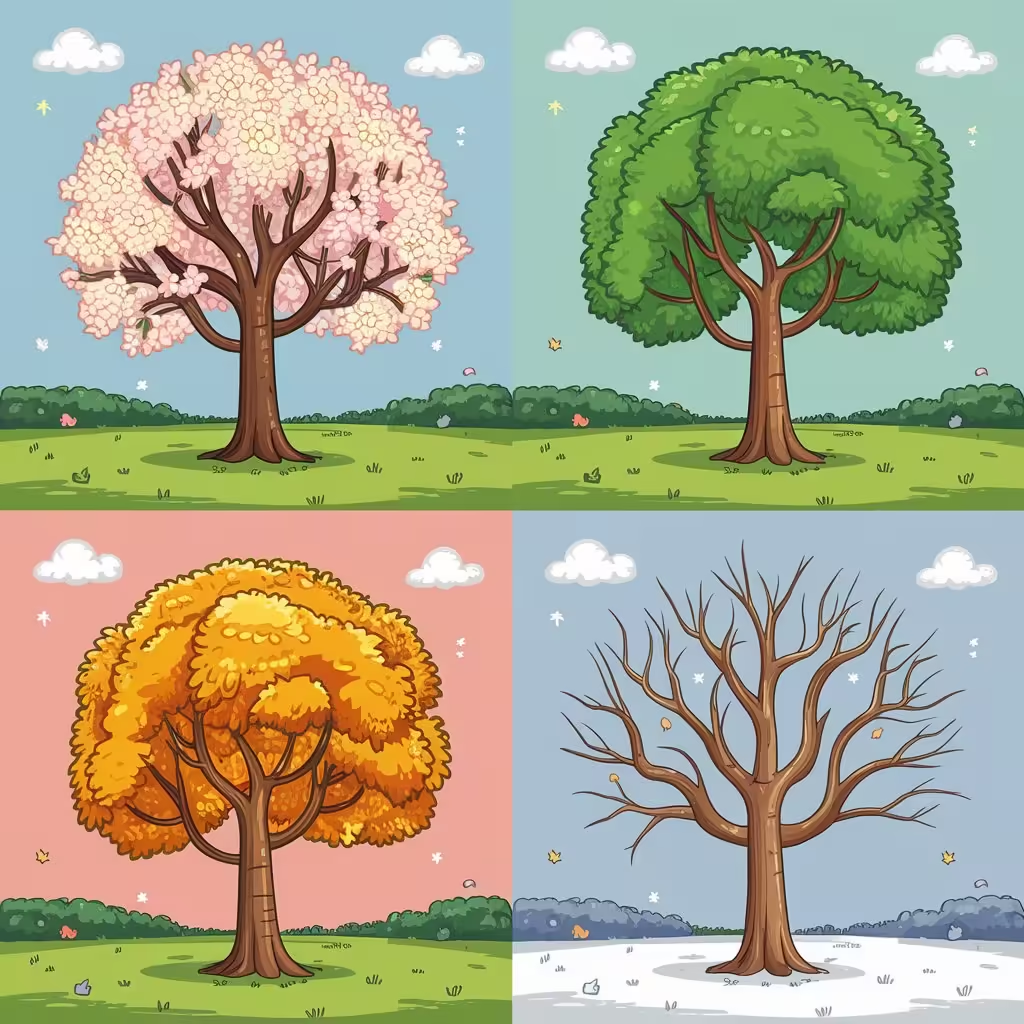
- Seasonal Trees: Draw trees in different seasons – a blossoming tree in spring, a leafy green tree in summer, a colorful tree in autumn, and a bare tree in winter.

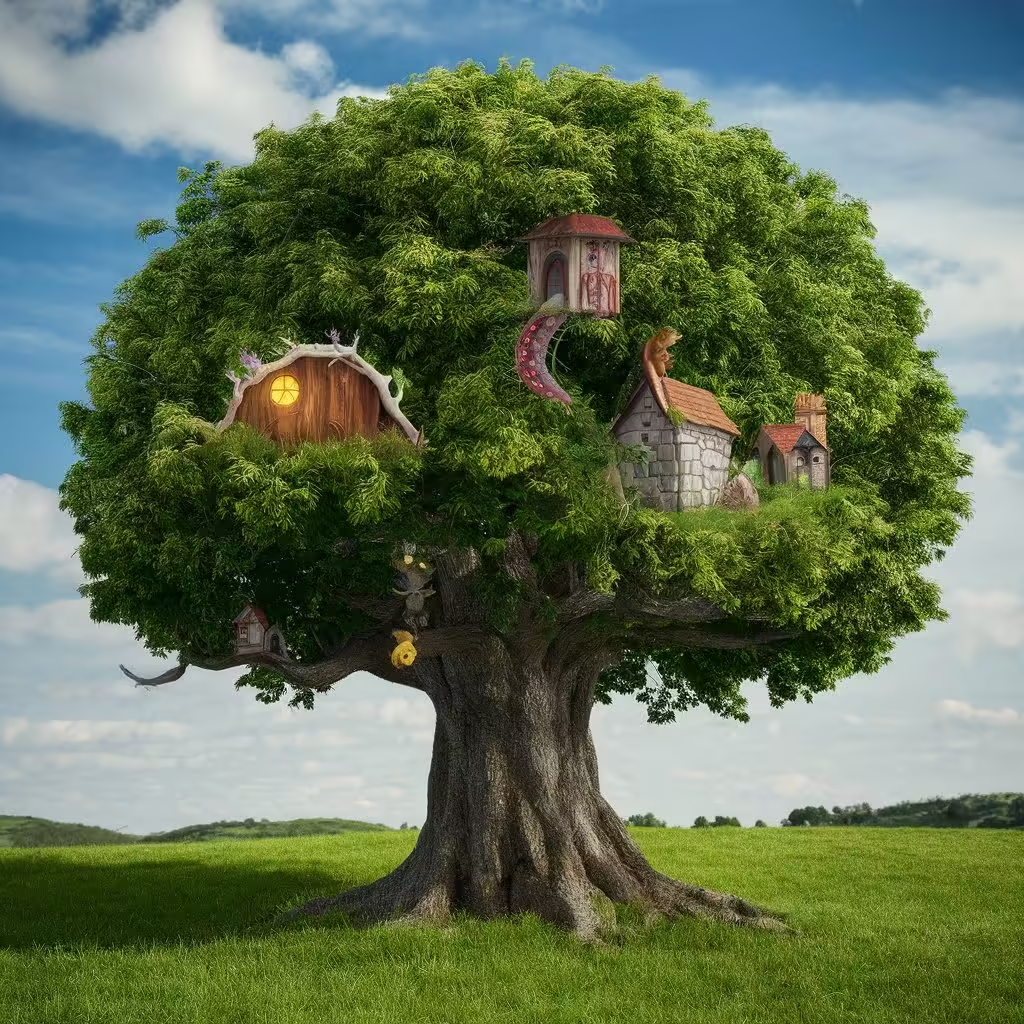
- Fantasy Trees: Let your imagination run wild by drawing fantasy trees with unusual shapes, colors, and elements like fairy houses or magical creatures.

- Tree with a Swing: Add a swing hanging from one of the branches to create a playful scene.

Conclusion
Tree drawing for kids is a fun, creative, and educational activity that offers countless possibilities. With this step-by-step guide, kids can easily draw beautiful trees and enhance their artistic skills. So, grab your drawing materials and let the tree-drawing adventure begin!
By following these steps and tips, kids will not only enjoy drawing but also develop a deeper appreciation for nature and art. Happy drawing!
Related Posts:


